
concept · esc-pos
ESC/POS Images
Quick answer
To print an image with ESC/POS, render it to the target physical size, flatten transparency, convert color or grayscale to one-bit black-and-white data, pack each row into bytes, and send it with an image command supported by the exact printer. Optimize before transmission: oversized logos slow receipts, consume buffers, and can overheat or produce uneven density. Verify dimensions, bit order, length fields, chunking, and output on real media.
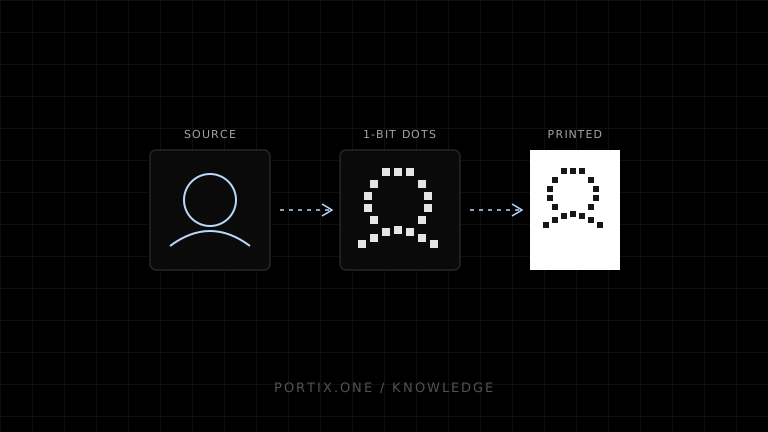
ESC/POS printers do not normally receive PNG or JPEG files through a raw command stream. An application decodes the source image, fits it to the printer’s dot width, converts it to monochrome pixels, packs those pixels into bytes, and wraps the result in a supported image command.
The image pipeline
PNG / JPEG / SVG / canvas
            ↓ decode and composite
Target width in printer dots
            ↓ resize
Grayscale or luminance
            ↓ threshold or dither
One bit per pixel
            ↓ pack 8 horizontal pixels per byte
ESC/POS image command + dimensions + payload
            ↓
Printer
Every transformation should be deterministic so the same asset and printer profile produce the same bytes.
Start with the printable dot width
A printer advertised for 58 mm or 80 mm paper does not print across the full nominal width. Use its documented printable dots at the configured resolution. Scale the image once, before monochrome conversion, and preserve its aspect ratio unless deliberate cropping is required.
target height = source height × target width / source width
bytes per row = ceil(target width / 8)
Pad unused bits in the final byte of each row with white.
Convert to monochrome
Thermal receipt output is generally one bit per dot: heated or not heated.
Thresholding
A luminance threshold maps lighter pixels to white and darker pixels to black. It is compact and predictable for high-contrast logos, line art, and QR-like graphics.
Dithering
Dithering distributes black dots to simulate gray. It can preserve photographic detail but may create visual noise, increase thermal density, and reduce clarity on low-resolution devices.
Avoid using image compression artifacts as texture. Begin with a clean, high-contrast source and test more than one threshold or dither algorithm when visual quality matters.
Pack pixels into bytes
One common row-major raster convention maps the leftmost pixel to the most significant bit:
function packRow(pixels) {
  const output = new Uint8Array(Math.ceil(pixels.length / 8));

  pixels.forEach((isBlack, index) => {
    if (isBlack) output[index >> 3] |= 0x80 >> (index & 7);
  });

  return output;
}
This demonstrates packing only. The selected ESC/POS command defines payload order, width/height fields, limits, and supported modes.
Choose a supported image command
ESC/POS families include legacy bit-image commands, raster commands, and graphics-storage or printing functions. Epson marks GS v 0 as obsolete in its current reference even though many devices still implement it. Prefer a current command documented for the supported model rather than choosing solely from old sample code.
A command profile should define:
- Prefix and function bytes.
- Width and height units.
- Byte order for multi-byte lengths.
- Maximum dimensions and payload.
- Standard-mode or page-mode restrictions.
- Whether row chunking or line feeds are required.
- Behavior after printing and reset.
Chunking and buffers
Large raster payloads can exceed a printer, interface, runtime, or spooler limit. Chunk by complete image rows so each command remains valid. Do not split a command header or declared payload arbitrarily.
Chunking can introduce white seams if the command feeds between bands or if line spacing is active. Test the specific command sequence and printer.
Performance and thermal density
Large black regions require sustained heat and may trigger speed reduction, power limits, banding, or paper distortion. Printer specifications often condition maximum speed on density, voltage, and temperature.
For receipts:
- Keep logos near their actual display size.
- Remove unnecessary background.
- Prefer line art to photographs.
- Limit solid black coverage.
- Cache preprocessed assets when the printer profile is unchanged.
- Avoid rasterizing the entire receipt unless typography requires it.
Stored graphics
Some printers can store graphics in volatile or nonvolatile memory and print them by key. This can reduce repeated transfer for a logo. Storage capacity, write endurance, key management, initialization behavior, and deployment updates are model-specific.
Treat stored assets as versioned deployment content. Confirm them during device provisioning and define a fallback when the expected graphic is missing.
Common image failures
| Symptom | Likely cause |
|---|---|
| Diagonal or scrambled output | Wrong width, row stride, or bit order |
| Cropped image | Exceeds printable width or command limit |
| Black background | Transparency flattened to black |
| Very dark photo | Threshold/dither inappropriate for device and media |
| Blank output | Wrong command, dimensions, mode, or payload length |
| Partial image | Buffer, transport, or chunk limit |
| White gaps between bands | Feed or line-spacing behavior during chunking |
Frequently asked questions
Can I send a PNG directly?
Not through ordinary raw ESC/POS image commands. Decode it and generate the device’s expected monochrome payload, or use a verified SDK that does so.
What image width should I use?
Use the configured printer’s documented printable width in dots, or smaller. Nominal paper width is not sufficient.
Is rasterizing text a good idea?
It solves missing glyph and shaping problems but increases bytes and print time. Use it selectively when printer-native text is inadequate.
Why is my logo slow?
It may be physically too large, high in black coverage, repeatedly transferred instead of stored, or limited by the transport and printer buffer.
References
- ESC/POS Commands in Code Order — Epson, accessed Jul 19, 2026
- GS v 0 — Print raster bit image, obsolete — Epson, accessed Jul 19, 2026
- ESC/POS Command Reference — Introduction — Epson, accessed Jul 19, 2026
Related content
concept
ESC/POS Character Encoding
Learn why ESC/POS text prints as incorrect symbols and how code pages, international sets, Unicode, byte encoding, fonts, and rasterization affect multilingual receipts.
concept
ESC/POS Commands Explained
Understand ESC/POS command bytes, parameters, printer state, buffers, command families, status, cutting, and safe command construction.
concept
ESC/POS QR Codes
Learn how ESC/POS printers configure, store, and print QR Codes, and how to choose module size, error correction, payload, quiet zones, and verification.
concept
What Is ESC/POS?
Learn what ESC/POS is, how byte commands control compatible receipt printers, and when to use it instead of driver or browser-rendered printing.